

Basic Pâte à Choux Recipe
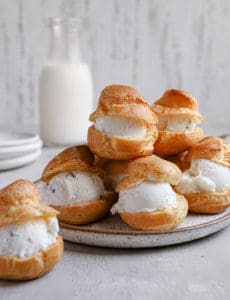
I’m sharing all my tips for making light as air pâte à choux. This delicate pastry makes airy pastry perfect for filling with sweet and savory stuffings. Learn everything you need to know about choux pastry from how to make, pipe, store, and fix some of the most common issues.
The Background
If you are not familiar with choux pastry, it’s a light and airy dough used to make desserts ranging from eclairs to churros and more. This unique dough is twice-baked, first on the stove, to create a silky smooth finish. Then it bakes to golden perfection in the oven.
Made with water, eggs, flour, and butter the pastry has a high moisture content which causes the pastry to rise and leave space for delicious fillings to be stuffed with pastry cream or other fun fillings. Once you’ve mastered making choux pastry, the delicious treats you can make are endless including:
- Eclairs: Pastry cream is piped into long logs and then filled with pastry cream and topped with chocolate.
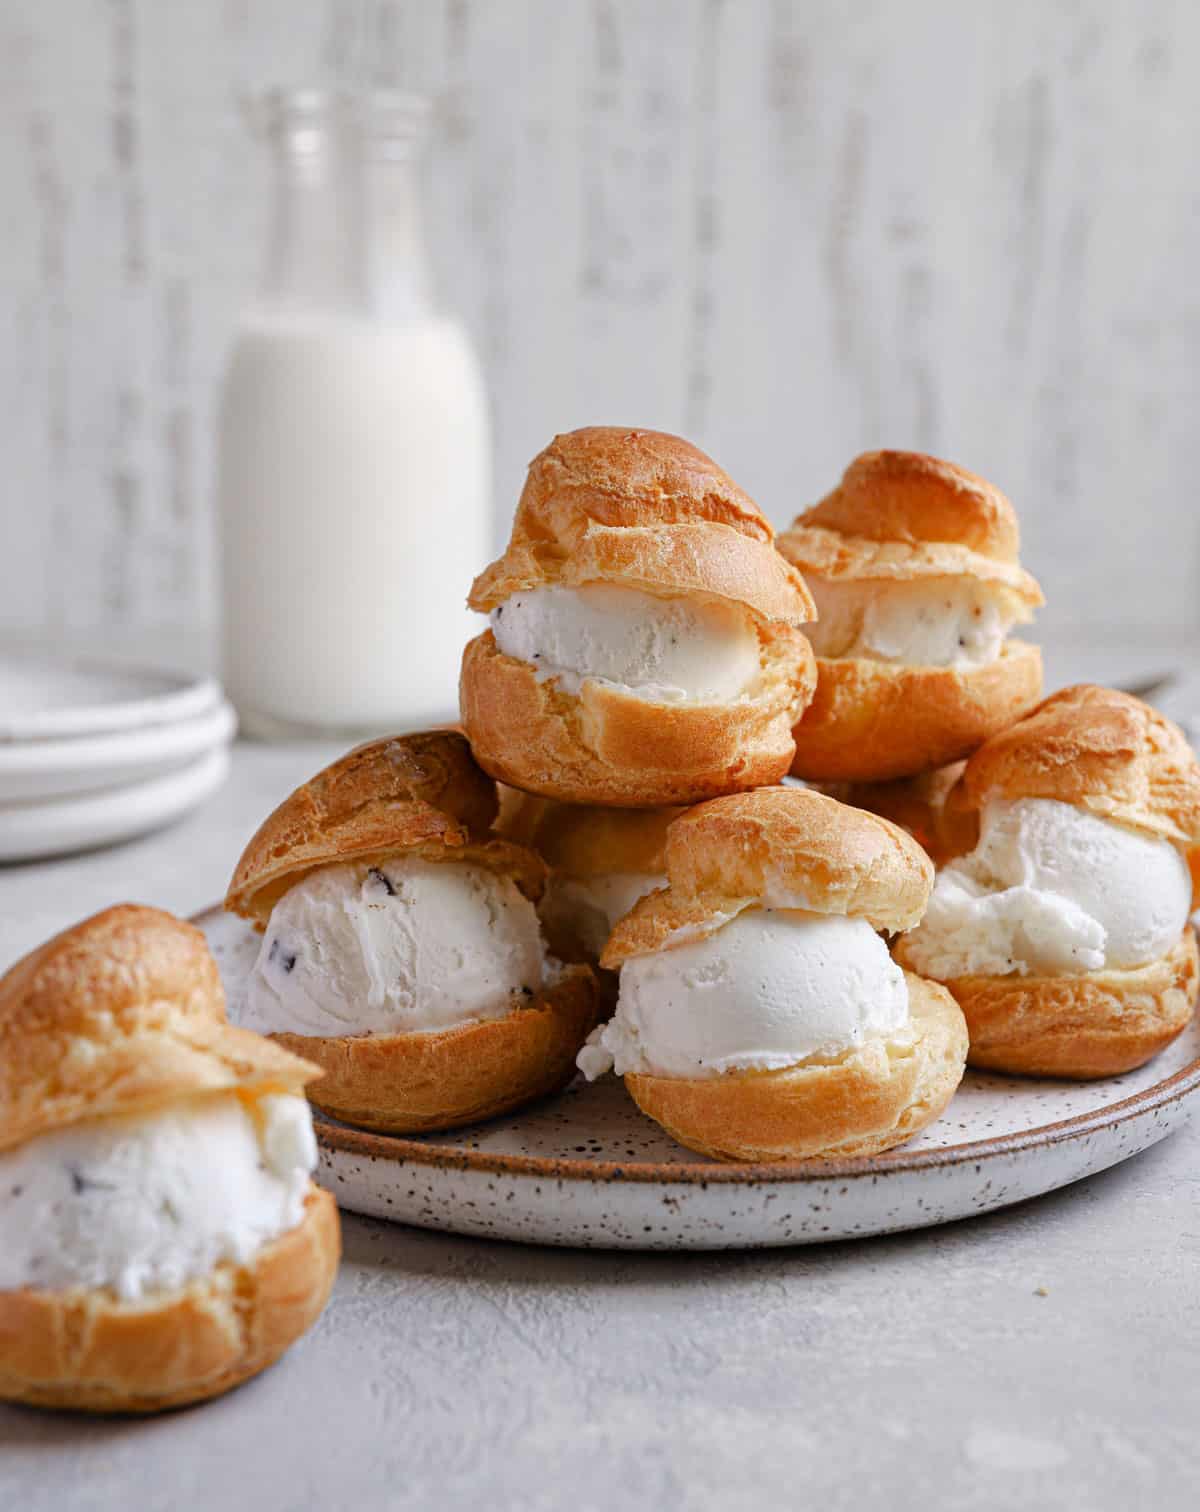
- Profiteroles: Also known as cream puffs, profiteroles are filled with pastry cream or ice cream. They often come served with a silky chocolate topping.
- Croquembouches: A cone-shaped tower made from choux pastry puffs baked and dipped in caramel binding the tower together.
- Gougeres: A savory appetizer made with choux pastry.
- Beignets: The dough is fried instead of baked into a type of fritter.
- Churros: Piped from a star-shaped nozzle and fried into a crispy treat.
Ingredients
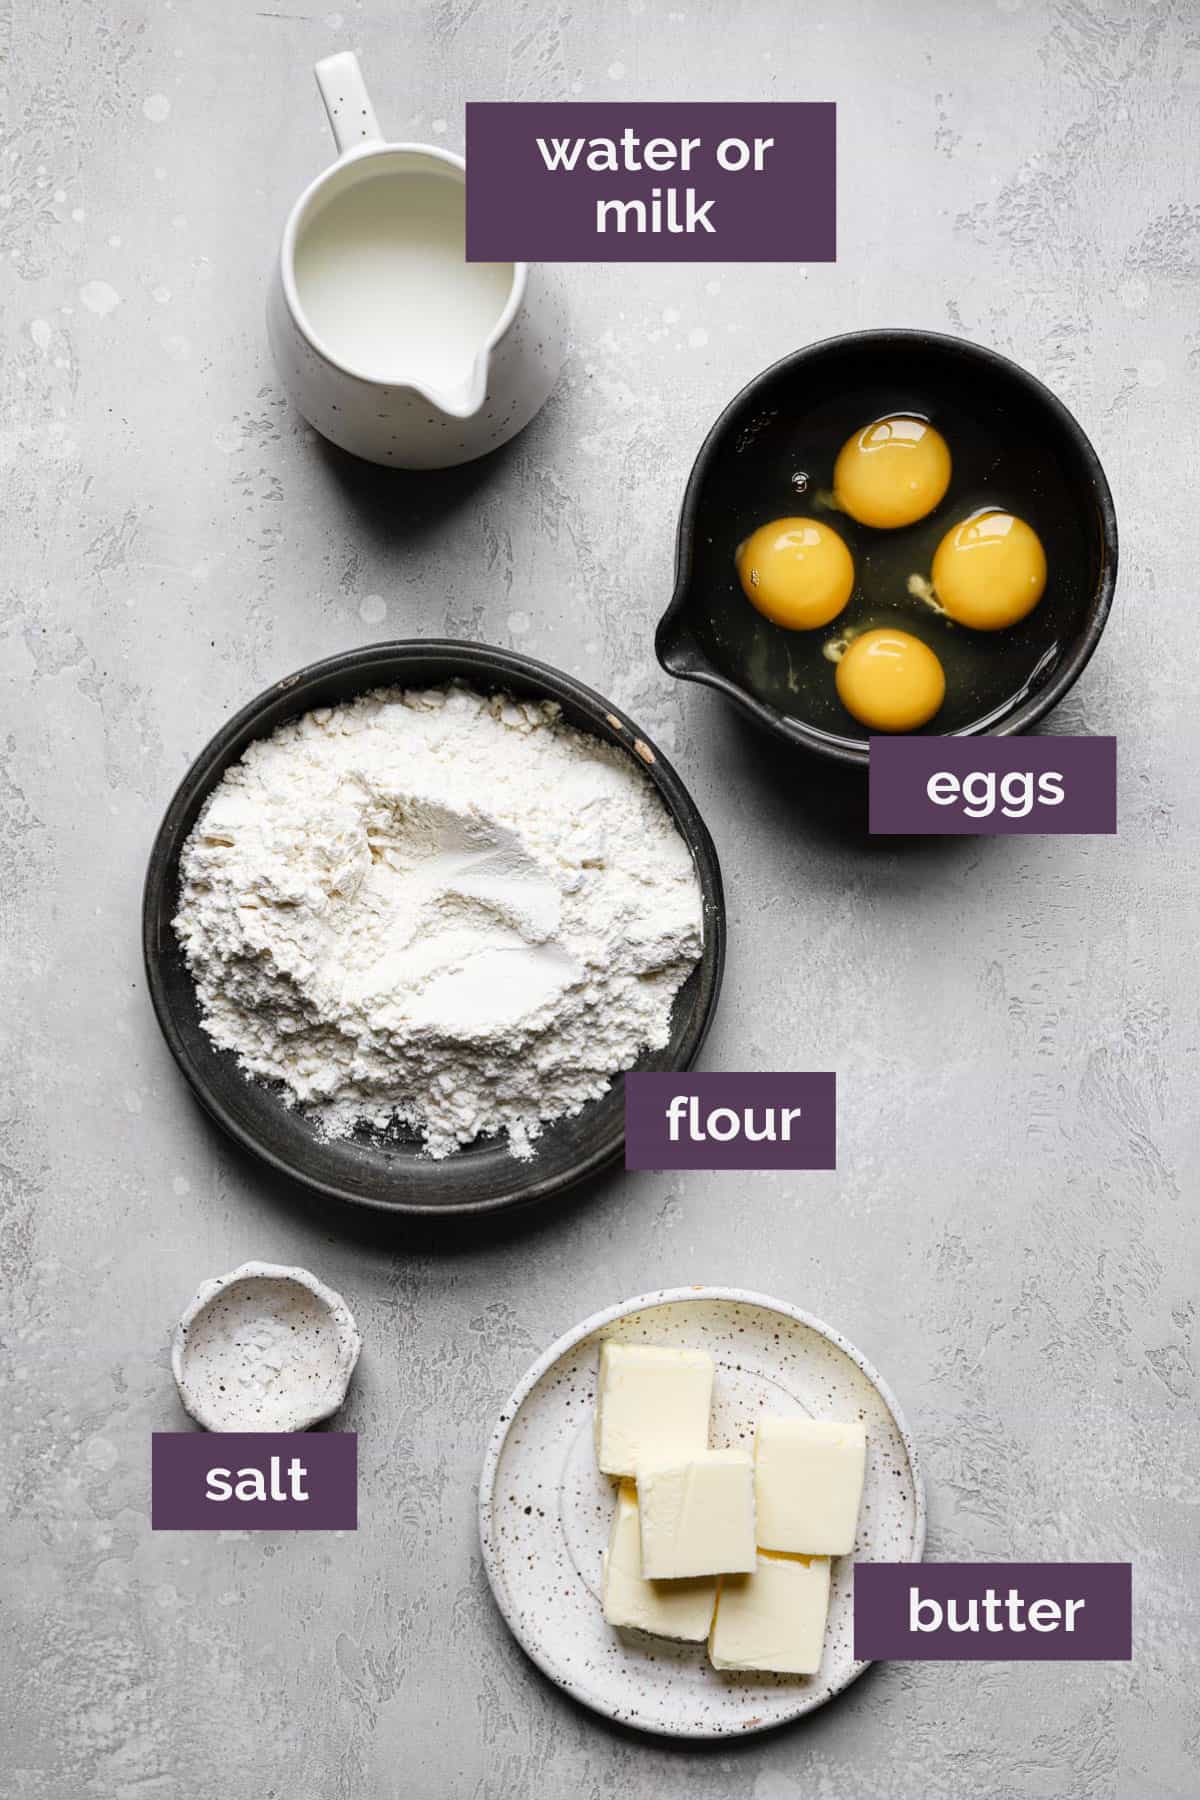
The beautiful thing about this dough is that it uses just a handful of pantry staple ingredients that you probably already have on hand.
- Milk: You can also use water or a combination of both water and milk. Depending on the final pastry you are making with the dough, one or the other may be called for in the recipe.
- Butter: During the baking process, this allows the pastry to rise.
- Salt: Gives a little flavor to the choux.
- Flour: Gives structure to the pastry.
- Eggs: Helps give the pastry structure and makes a crisp outer shell.
Step-by-Step Directions
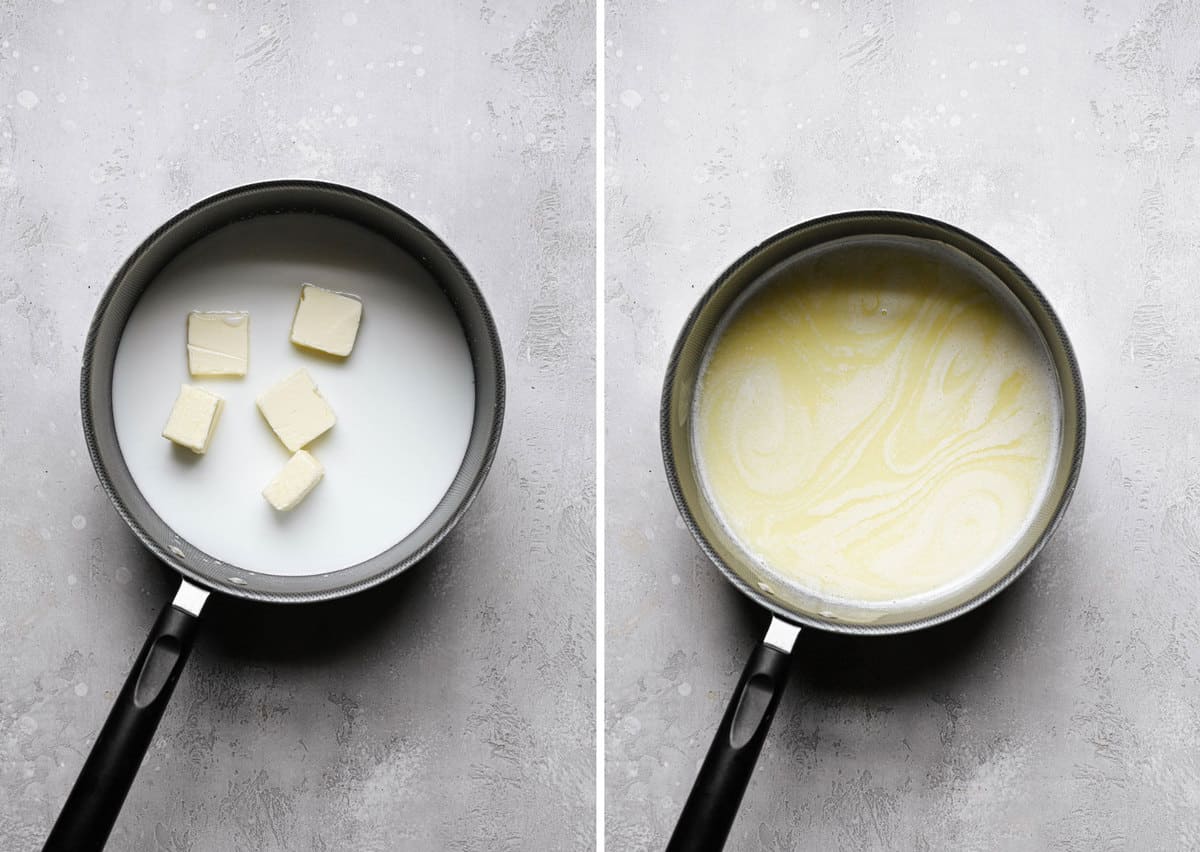
- Boil milk, butter, and salt: Place the water or milk, butter, and salt in a medium saucepan. Place over high heat and bring to a full rolling boil.
- Add the flour: Remove from the heat and add the flour all at once. Using a wooden spoon or a stiff silicone spatula, stir until the flour is thoroughly mixed in and no clumps remain, pressing and smashing the dough against the sides of the pan.
- Stir the dough together: Return the pot to medium-high heat and cook, stirring frequently until the dough comes together in one mass and there is a dry film on the bottom and sides of the pan.
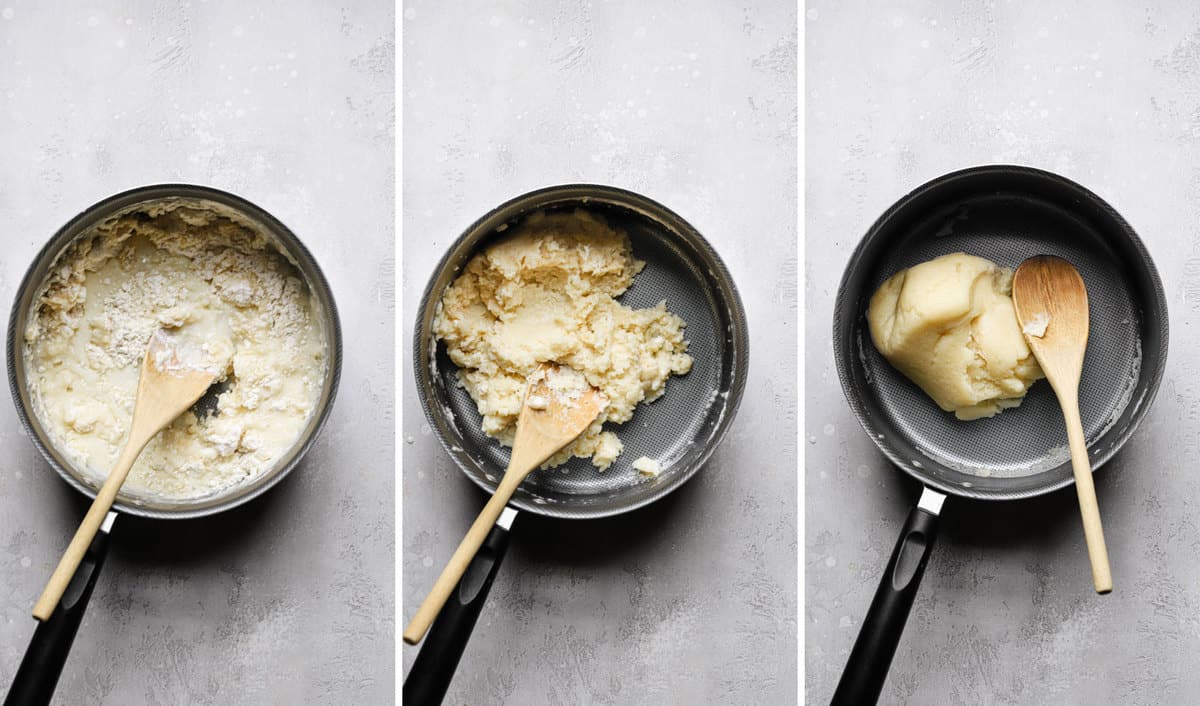
- Check the temperature: If you have an instant-read thermometer the temperature of the dough should register at 175°F.
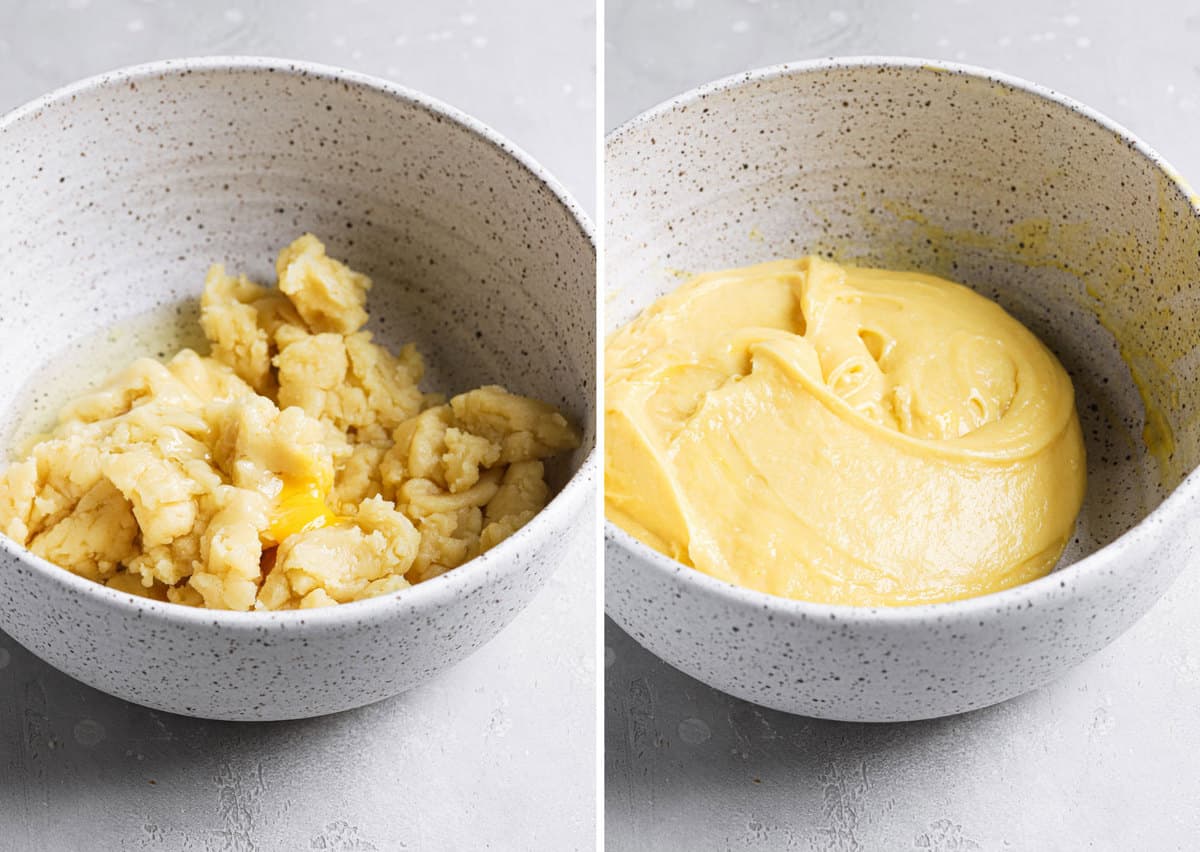
- Beat in a mixer: Transfer the dough to a mixing bowl and beat on medium speed for about 2 minutes to cool the dough down. Check the temperature again, it should read about 145°F.
- Mix in eggs: Add the eggs one at a time, ensuring each one is fully incorporated before adding the next. Once all of the eggs have been added scrape down the bottom and sides of the bowl and mix again to ensure everything is fully incorporated for an additional 5 to 10 seconds.
Piping the Dough
Once you’ve made the dough, you will then need to determine what shape pastry you plan to make. I’ll give you directions for piping some of the most common choux pastry shapes.
-
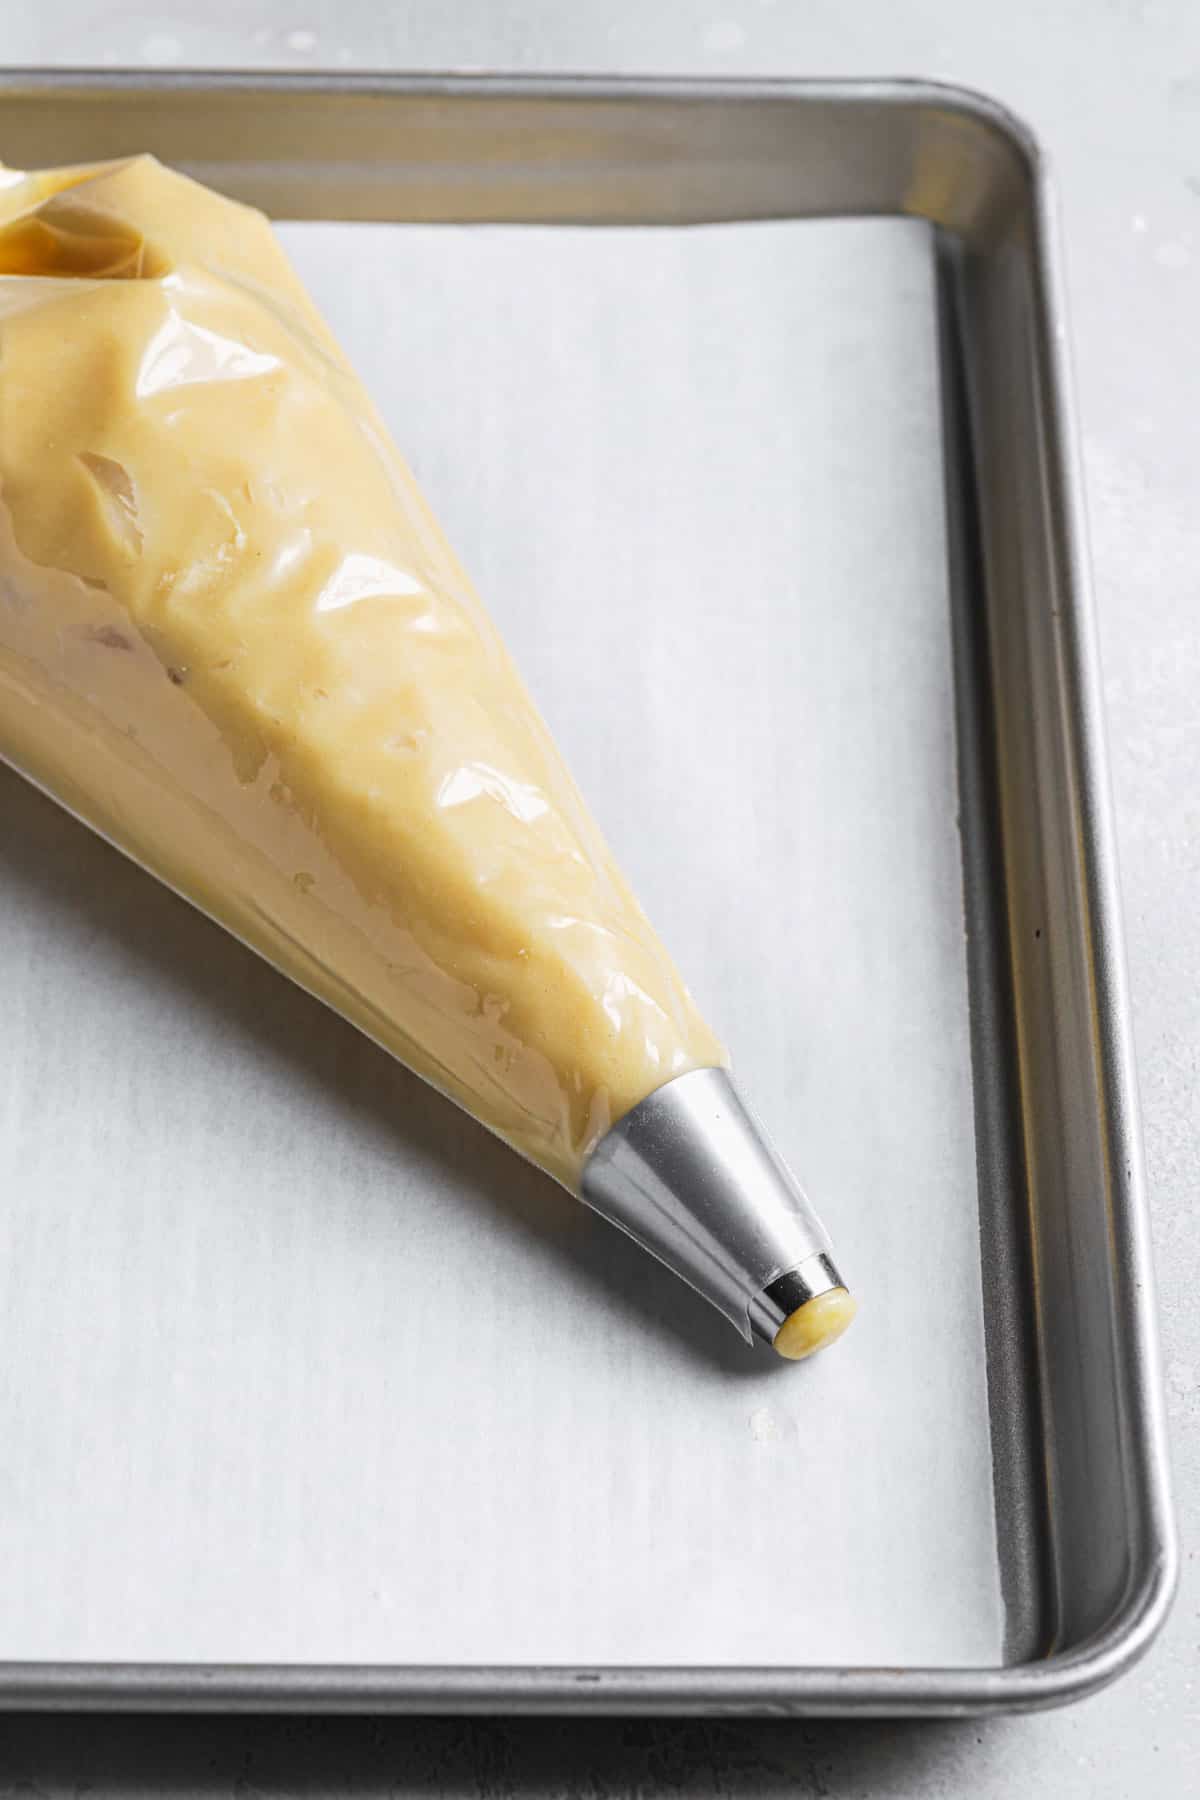
Round (for puffs)– Use a round 1/2-inch piping tip. Make sure the tip always touches the dough to prevent ripples. Hold the bag upright as you pipe the dough to ensure the pastry will rise upwards.
-
Elongated (for eclairs)– Use a round or French star tip pipe the dough out at a 45° angle and keep consistent pressure while you pipe.
After piping the rounds and eclairs, be sure to dip your finger in water and flatten any points that might have been made with the pastry tip to prevent spots from burning.
Baking
After piping your pastry onto parchment paper, you are ready to bake these beauties!
Save This Recipe
Depending on the different pastry you plan to make your baking instructions will change.
Filling Options
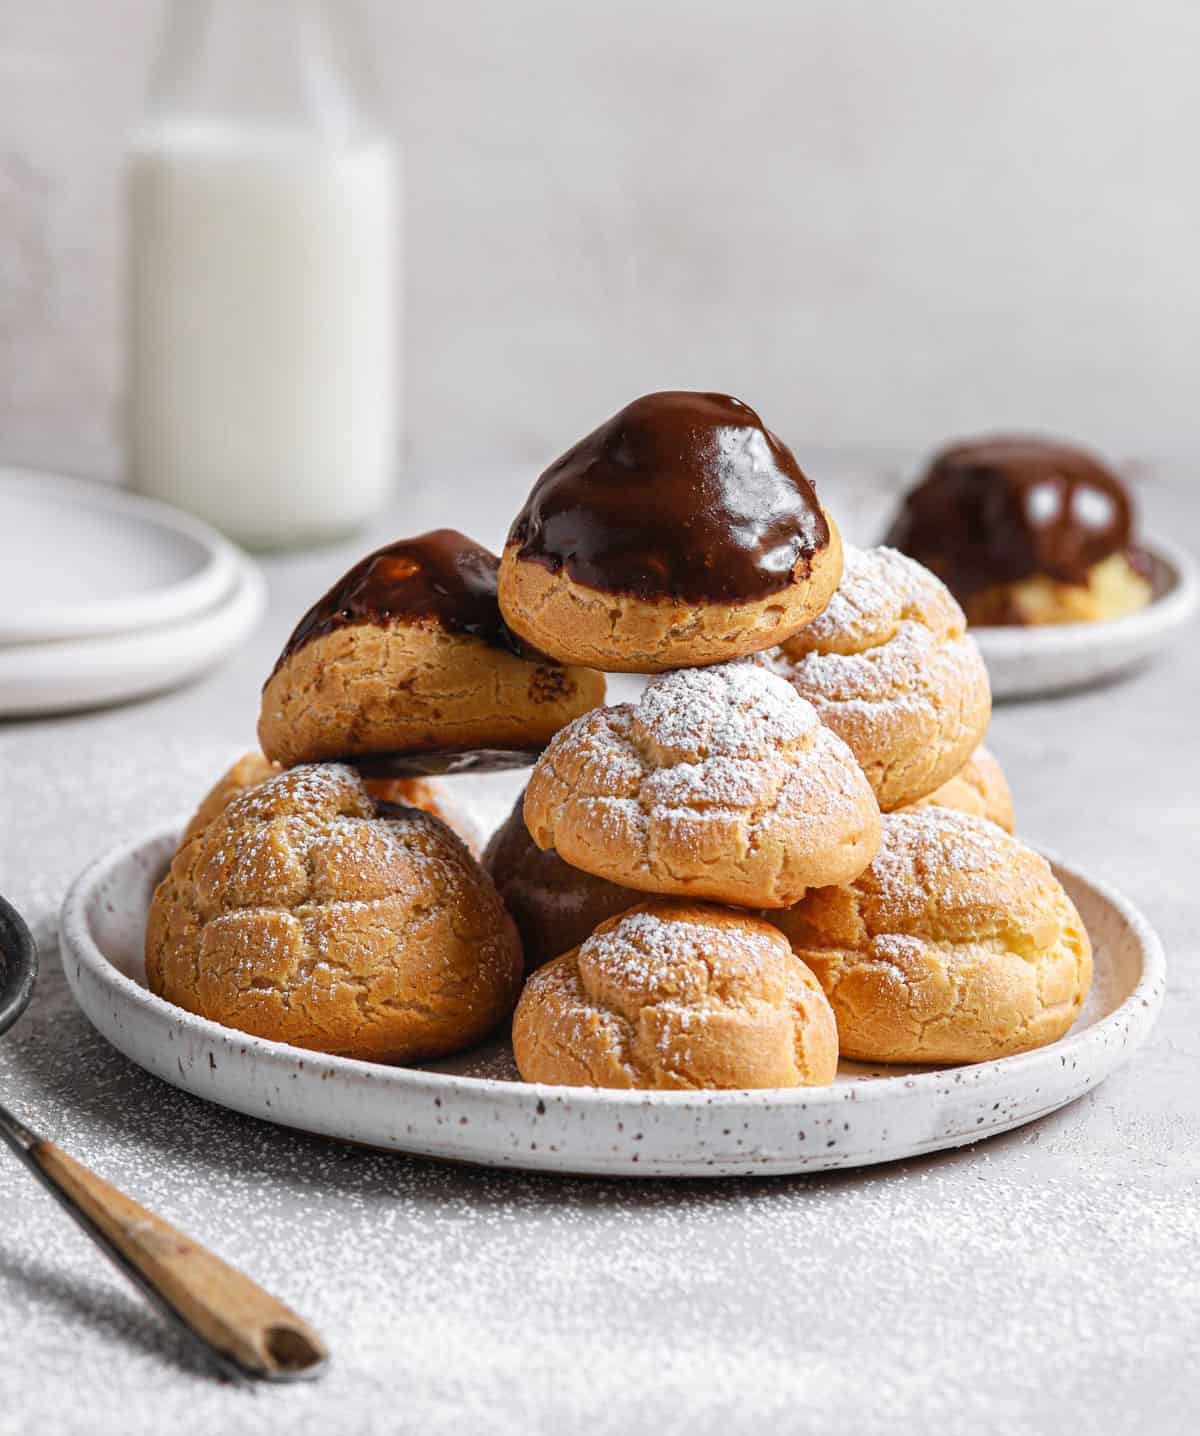
Now, this is where you can really get creative with choux pastry. Since the dough is rather bland in flavor, you can really dress it up by stuffing it with many different fillings. Some of my favorite ways to fill baked pâte à choux include:
- Pastry cream
- Lemon curd
- Ice cream
- Homemade whipped cream
FAQ and Troubleshooting
Some of the most common issues surrounding choux pastry include runny dough and collapsed pastries. Let’s talk a little bit about why these issues occur, how you can prevent them, and ways to fix the issue if they happen.
Collapsed Pastry
There are two main reasons your pastry will collapse. The first is that the oven was opened before the choux cooked through. This happens when you open the oven to check on them before the cooking time is complete. I would suggest keeping the door closed the first 20 minutes of baking before peeking for a doneness check.
By opening the oven you allow the steam to escape preventing the exterior of the pastry from crisping up.
Choux pastry also collapses when you do not prick the baked pastry shells to vent the hot air from inside. If un-vented, the hot air adds moisture inside the pastry and causes it to collapse while cooling.
Making in Advance
- Store unfilled baked pastry shells in an airtight container for up to 2 days. Reheat them in the oven to crisp up and fill.
- Freeze baked pastry shells in an airtight container for up to 3 months, thaw, and bake to crisp up before filling.
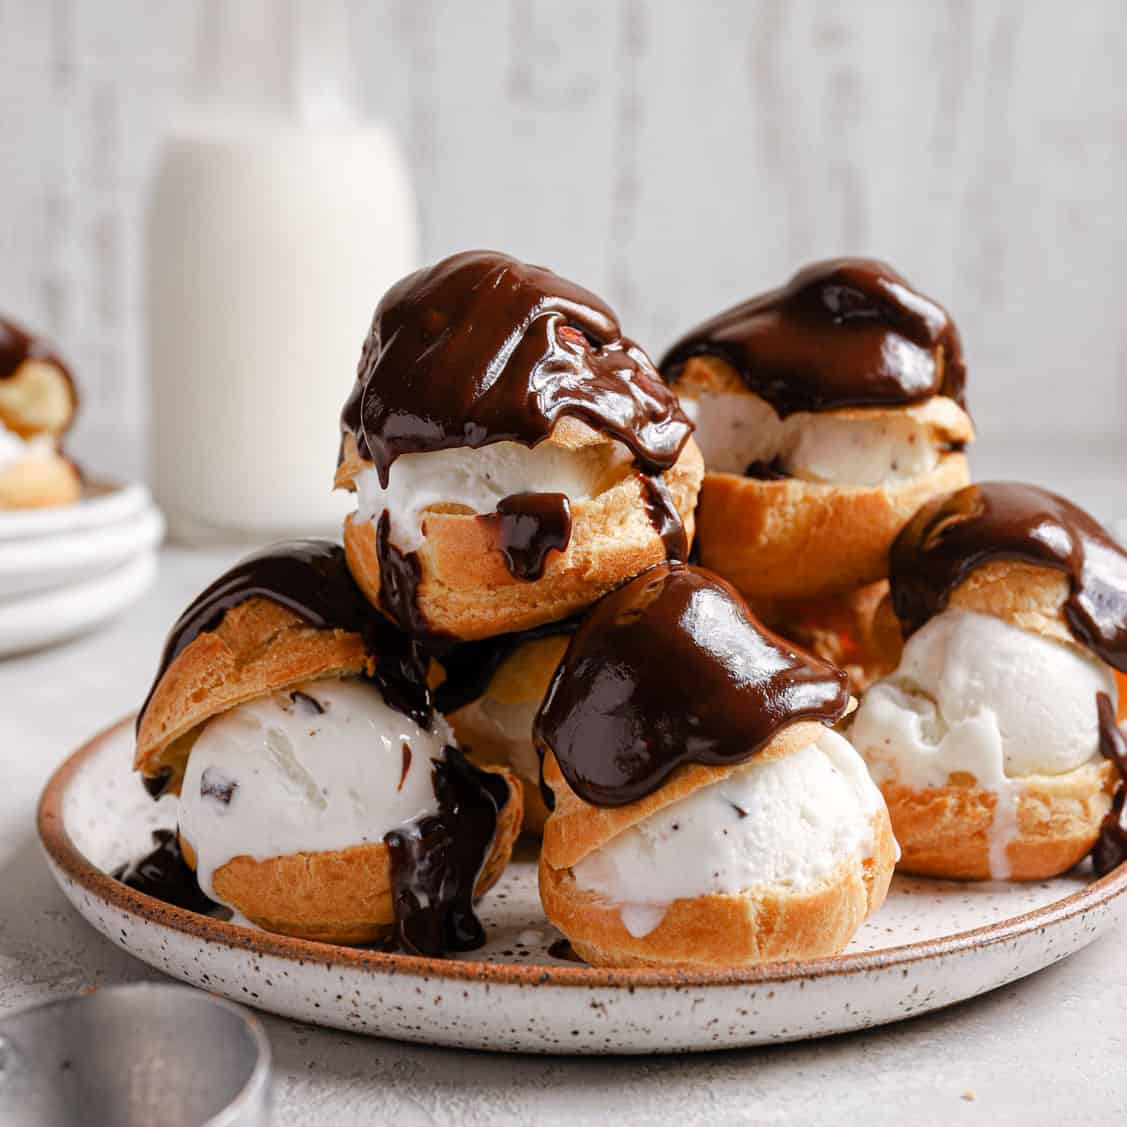
What to Make with Pâte à Choux
Take on the art of making choux pastry at home with this in-depth guide. From making the dough to troubleshooting the biggest issues, this guide has you covered for all your pâte à choux needs!
Watch the Recipe Video Below:
If you make this recipe and love it, remember to stop back and give it a 5-star rating - it helps others find the recipe! ❤️️
Pate a Choux Recipe
Ingredients
- 1 cup (240 ml) milk or water, or combination
- 6 tablespoons (85 g) unsalted butter, cut into ½-inch cubes
- ½ teaspoon (0.5 teaspoon) kosher salt
- 1 cup (120 g) all-purpose flour, sifted
- 4 eggs
Instructions
- Place the water or milk, butter, and salt in a medium saucepan. Place over high heat and bring to a full rolling boil.
- Remove from the heat and add the flour all at once. Using a wooden spoon or stiff silicone spatula and stir until the flour is thoroughly mixed in and no lumps remain, pressing and smashing the dough against the sides of the pan.
- Return the pot to medium-high heat and cook, stirring frequently, until the dough comes together into one mass and there is a dry film on the bottom and sides of the pan. If you have an instant-read thermometer, it should register 175 degrees F.
- Transfer the dough to a mixing bowl and beat on medium speed for about 2 minutes to cool the dough down. It should register 145 degrees on an instant-read thermometer.
- Add the eggs one at a time, ensuring each one is fully incorporated before adding the next. Once all of the eggs have been added, scrape down the bottom and sides of the bowl and mix again to ensure everything is fully incorporated, an additional 5 to 10 seconds.
- Use immediately or keep at room temperature for up to 2 hours in a piping bag or with a piece of plastic wrap pressed against the surface.
Notes
- Make the Dough By Hand: You do not need a mixer to make this dough; I often make it by hand. Cool it down by stirring it frequently with a spoon or spatula, then beat in each egg one at a time by hand.
Did you make this recipe?
Leave a review below, then snap a picture and tag @thebrowneyedbaker on Instagram so I can see it!
Photography by Dee Frances



The tip about letting the dough cool slightly before adding eggs gradually really saved me—my first batch turned out lumpy because I dumped them all in at once. I also appreciate how you emphasized the importance of drying the dough in the pan until it forms a film, since that’s what finally gave my cream puffs that perfect hollow center. Definitely bookmarking this for my next éclair attempt.
AI creative generator
I’ve always been intimidated by the idea of making pâte à choux, but the detail about cooking the flour mixture until it forms a thin film on the pan finally made the process click for me. I tried it this weekend, and that tip really does make a difference in getting that perfect hollow center for filling. Now I feel ready to tackle éclairs instead of just profiteroles!
image generation AI
This guide is incredibly detailed! I’ve always struggled with getting my cream puffs to rise properly without collapsing, but your tips on the dough consistency and the drying process in the oven made all the difference. The step-by-step photos are so helpful for visualizing the texture, especially the part about the “v” shape on the spatula. It’s rare to find a pâte à choux recipe that covers troubleshooting so thoroughly. I can’t wait to try making savory gougères next using this exact base. Thank you for sharing such a foolproof recipe and all these professional tips!
While exploring a full-body look for dance and reaction streams, I came across StreamSona real-time character studio. What stands out is the focus on fictional characters rather than celebrity impersonation, which makes the product easier to understand than the usual collection of disconnected avatar utilities.
Interesting take on this topic. Thanks for sharing.
Your sharing is excellent and has benefited me greatly; I aspire to learn from you.
player
The twice-baked step — stove first, then oven — is why a single tray shot fails. Once you cut it into a grid, the piped eclair lengths and the cream-puff rounds each need their own tile. That’s why we built ImageSplit: numbered grid in the browser, no upload.
Interesting article! As someone working with AI video tools, I’ve found Aniv (https://aniv.ai/) incredibly useful for turning concepts into engaging short dramas – it’s an AI-powered end-to-end production workflow from script to final video.
A solid, easy-to-scan overview. Readers who want a practical option to try after this discussion may find MiniMax H3 Max worth a look as well.
This guide is fantastic and covers all the classic choux techniques. It’s funny how the science of baking, like getting that perfect moisture content for the rise, parallels the tech behind creative tools these days. For anyone who enjoys this kind of hands-on creation but wants to play with a different kind of beat, I found a free AI tool that turns lyric ideas into full rap tracks with vocals and downloadable MP3s. It’s a fun way to experiment with rhythm if you’re ever between batches of pastry cream. Check it out at airapgenerator.app.
A troubleshooting section is exactly what most choux tutorials leave out, so thank you for that — the “why did they collapse?” panic is real. The one thing I’d flag: describing choux as “twice-baked” is a little misleading, since the stovetop stage is cooking the panade to gelatinize the starch and drive off moisture, not baking. Speaking of which, a note on how much moisture to cook off (the film on the pan bottom, or ideally a paste around 175–180°F) would help, since that’s the step that determines whether the dough can take all the egg. And a word on judging egg by consistency rather than count — the V-shape falling off the spatula — beats any fixed measurement, because flour and evaporation vary every time. Those ice cream–filled puffs look fantastic.
Great explanation. Clear and easy to follow.
Choux pastry can be so intimidating with all the temperature tricks, but your step-by-step tips really cleared things up. By the way, if you ever want to animate your culinary creations, you can easily reference to video to showcase the final plated dessert in motion.
This pâte à choux recipe looks like a delightful way to create light, airy pastries—perfect for both sweet and savory treats! If you enjoy exploring creative themes like this, you might also like discovering your unique soul type with this soul virtues extractor.
I never realized that failing to prick the baked shells to vent hot air could cause them to collapse while cooling—I always thought it was just an oven-temperature issue.
PoE Unique Disenchanting Tool
Great practical baking tutorial about pâte à choux, covering dough preparation, baking tips, fillings and problem‑solving for eclairs and cream puffs. Custom food‑themed illustrations enrich baking blog content. For creating pastry‑related graphics I work with https://nanobanana2‑lite.io.
Excellent guide to pâte à choux—the notes on drying the dough in the pan and adding the eggs gradually are especially helpful. Éclairs and cream puffs would make a great bakery or café special; owners who want to present seasonal pastries on a QR menu can explore MenuForma: https://menuforma.com/
The temperature tip before adding the eggs is really helpful. That detail explains why some batches rise better than others. I’ve been collecting more visual food inspiration at https://tangxinsite.com/.
The tip about letting the dough dry properly in the pan before adding eggs is something I’ve learned the hard way—too much moisture really does make the pastry dense instead of airy. I’m curious if you’ve tried adjusting the butter-to-flour ratio for a sturdier shell, since I’ve found it helps with savory fillings like cheese. On a lighter note, this guide reminds me of how precise baking can be, almost like a science experiment—similar to the fun of testing your instincts on an ethnicity guesser quiz, where small details change the outcome.
Excellent pâte à choux guide! The temperature tip (175°F) is crucial – that’s where most people go wrong. The step-by-step photos showing the dough film on the pan bottom are super helpful for visual learners.
I’ve been filming baking tutorials and hardcoded subtitles from reference videos are a pain to remove. https://subtitleremover.com cleans them up nicely before I edit.
I’ve always been intimidated by cream puffs, but your tip about drying the dough in the pan until a thin film forms on the bottom made so much sense—it’s the first time I actually understood what “the right consistency” means. I tried it this weekend and my choux puffed up beautifully in the oven without deflating when I pulled them out. Now I finally feel confident enough to attempt an éclair tower for my sister’s birthday.
Seedance 2.5
The tip about drying the dough in the pan until a thin film forms on the bottom is exactly what I was missing—my eclairs always came out too flat. I tried the recipe this weekend with the cream puff variation and they puffed up beautifully in the oven, though I did need to bake them a few extra minutes to get that deep golden color you mentioned. Do you find that the eggs need to be added more slowly on humid days, or is the visual “smooth and glossy” test always the most reliable?
텍스트·이미지 AI 동영상 제작
The practical steps for Basic Pâte à Choux Recipe are easy to follow, especially the small prep details. https://voxalike.org
I love how you emphasize hitting 175°F before adding the eggs — that temperature check really makes a difference for the rise. Your tip about piping different shapes for eclairs versus profiteroles is super helpful for beginners. Check out <a href Feel free to visit my website for more: 195-0
I liked the explanation of how choux pastry is twice-baked, especially the stove step for creating that silky smooth dough. The tips on piping and fixing common issues make it feel approachable for beginners. api ley
Michelle, this recipe is a lifesaver! I’ve attempted choux pastry twice before and both batches came out flat and soggy — I never realized I wasn’t cooking the dough long enough to get that dry film on the bottom of the pan. The 175°F temperature tip is gold; I’ll definitely be pulling out my instant-read thermometer this weekend. I’m planning to make profiteroles for a family gathering, and your step-by-step breakdown makes the whole process feel much less intimidating. I love sharing my baking wins on Instagram, so I’ll probably snap a photo of the finished puffs and run it through an ai video generator from image like Froging AI to add a little motion before posting to my stories. Thanks for such a detailed, encouraging tutorial — bookmarking this one for sure!
Clear and helpful overview. I recently came across Imagine Image 2.0 while researching the same topic, and it may give readers another useful point of reference. Thanks for sharing.
This is the most detailed choux walkthrough I’ve come across — the tip about cooking the dough until a dry film forms on the bottom of the pan saved my last batch, and I had no idea about the 175°F temperature check until now. My eclairs finally rose properly instead of collapsing flat! I document my baking attempts for a small food page, and since my video editing skills are basically nonexistent, I’ve been using an ai video generator from image to turn photos of finished pastries into short teaser clips before the full posts go up — it’s been surprisingly fun for showing the crisp shells and pastry cream filling. Gougeres are next on my list, so I’ll report back on how the savory version turns out. Thanks for such a thorough, beginner-friendly recipe!
Michelle, this guide finally demystified choux for me! The tip about cooking the dough until that dry film forms on the bottom of the pan was exactly what my previous attempts were missing — my éclairs always collapsed, and now I understand why. The 175°F temperature note was also a revelation; I never realized how much it affects how the eggs incorporate. My cream puffs came out crisp and hollow, perfect for piping in pastry cream. As someone who shares bakes on social media, I’ve been repurposing still shots of finished pastries into short clips for Reels — an [ai video generator from image](https://www.froging.ai/) like Froging AI makes that quick when I want a little motion without resetting all my lights. Can’t wait to try the troubleshooting section with my next batch for croquembouche season. Thanks for such a thorough, encouraging tutorial!
Great breakdown of the technique! The tip about cooking the dough until a dry film forms on the bottom of the pan is exactly what fixed my soggy cream puffs — I was always pulling it off the heat too soon. I also appreciated the note on milk versus water; I want to try a half-and-half mix for my next batch of gougeres. My last batch of profiteroles came out so well that I snapped a photo and used an AI image to video tool to turn it into a short looping clip for my Instagram story — it got way more engagement than a static post. The 175°F temperature check is a great detail too, especially for bakers like me who tend to guess. Bookmarking this for éclair season, thanks Michelle!